Brake Bracket
Intel for Project
For the brake bracket, I expanded my knowledge and experience with design and scaling an already made part. I learned more ways to design in Adobe Inventor, especially when you are given the dimensions of a given part.
Step by step
|
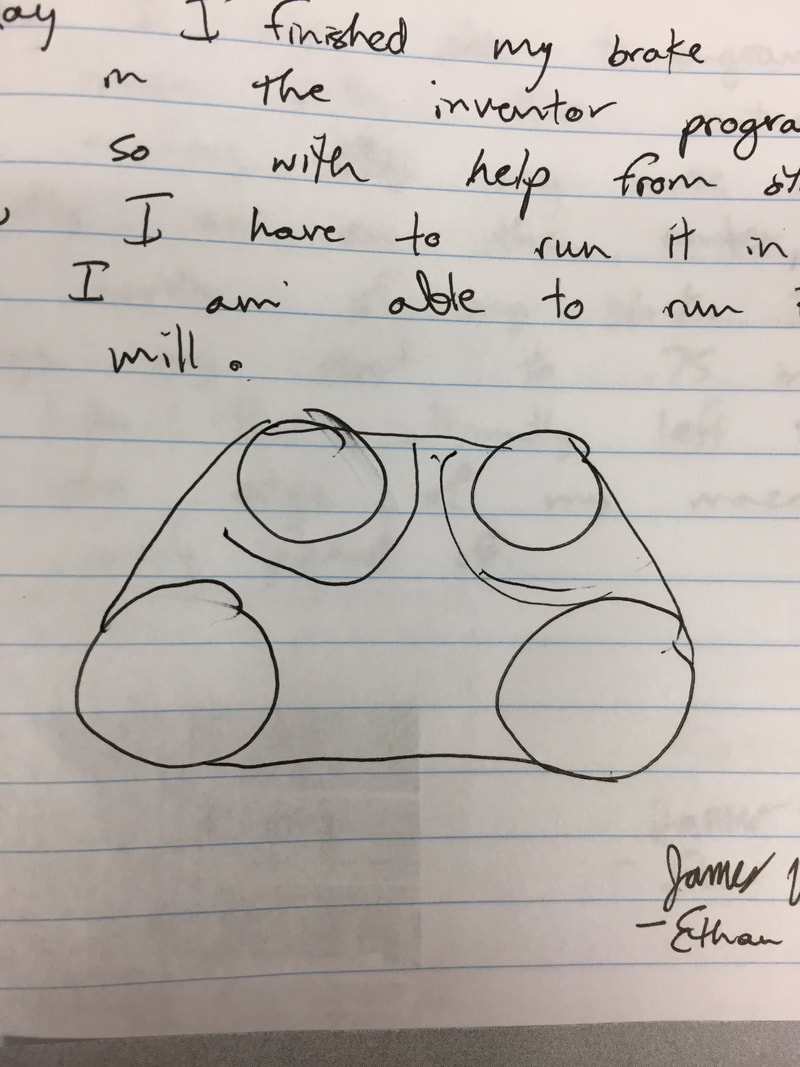
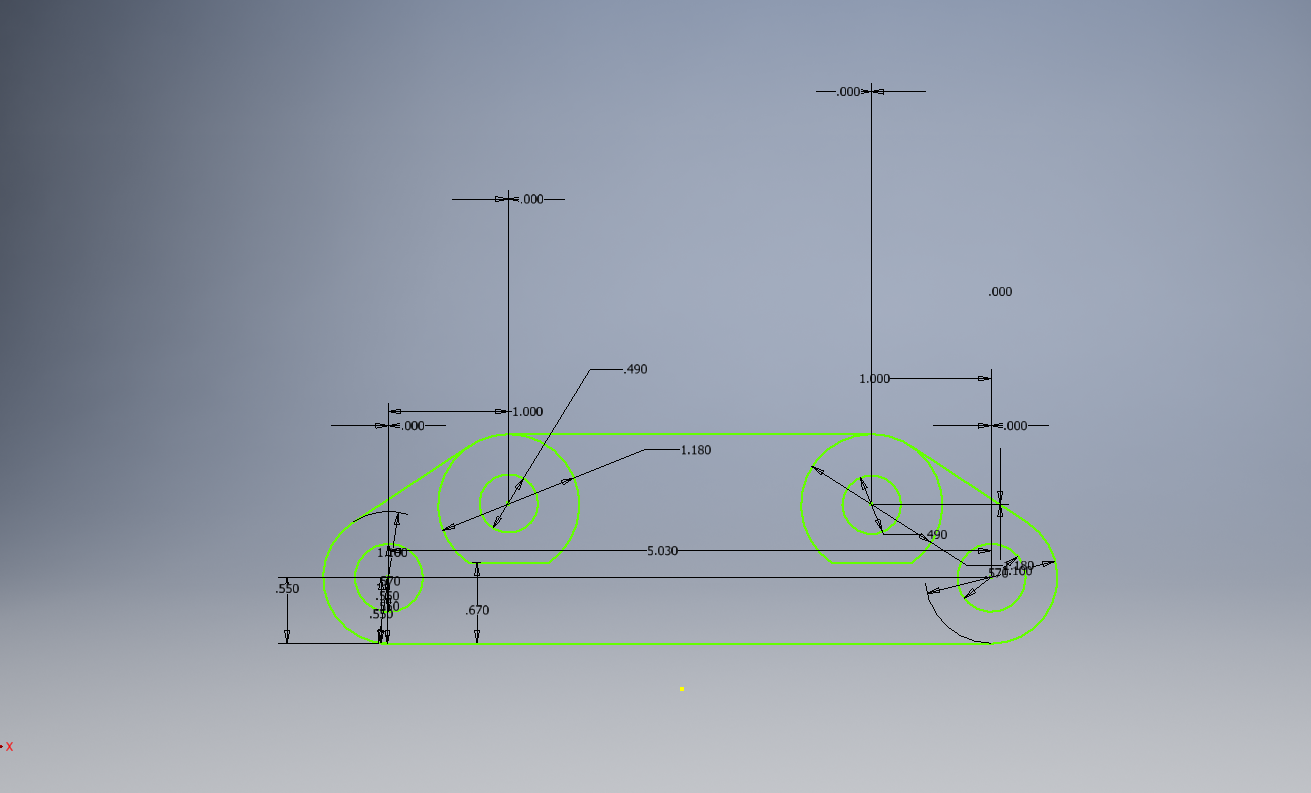
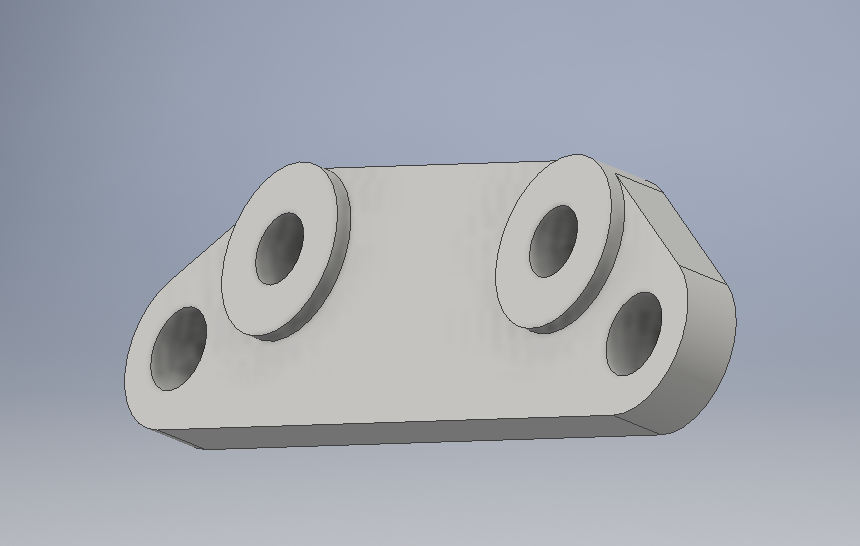
1. First, in Adobe inventor, I made the circles of the bracket. After making the circles I used the tangent tool to connect the edges of the circles to the lines I drew. Then I trimmed off the edges. Next I extruded my bracket in two parts so the top circles were .1 inches taller.
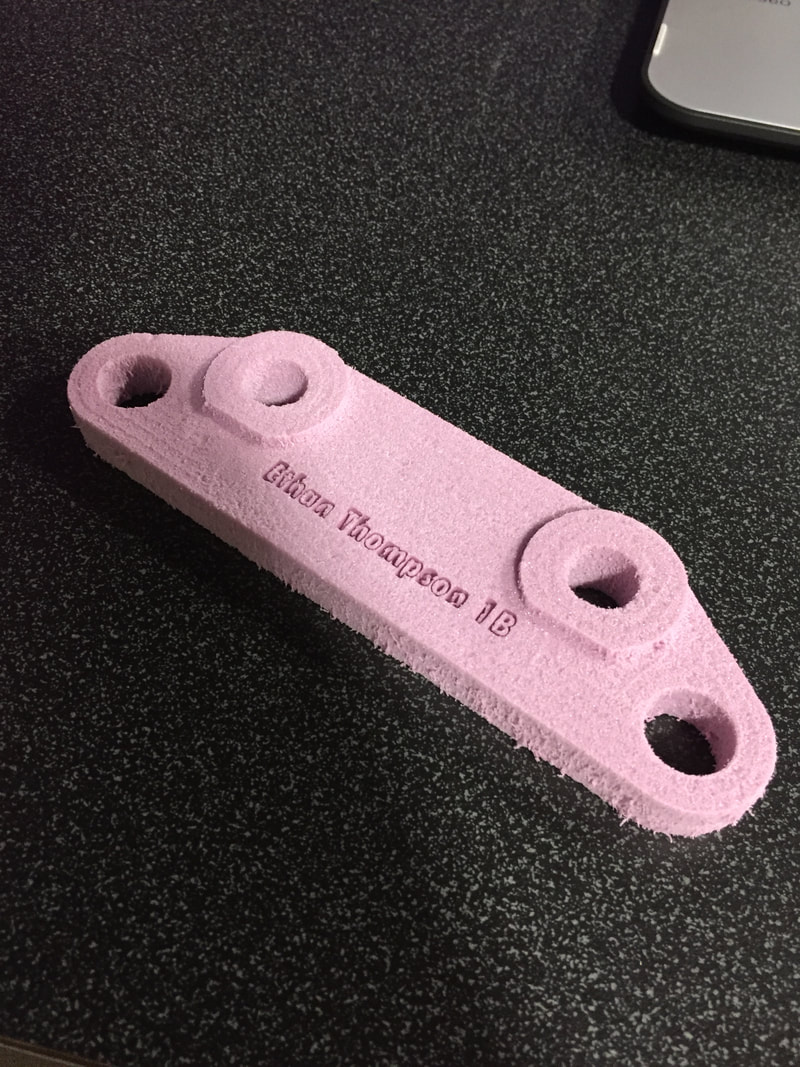
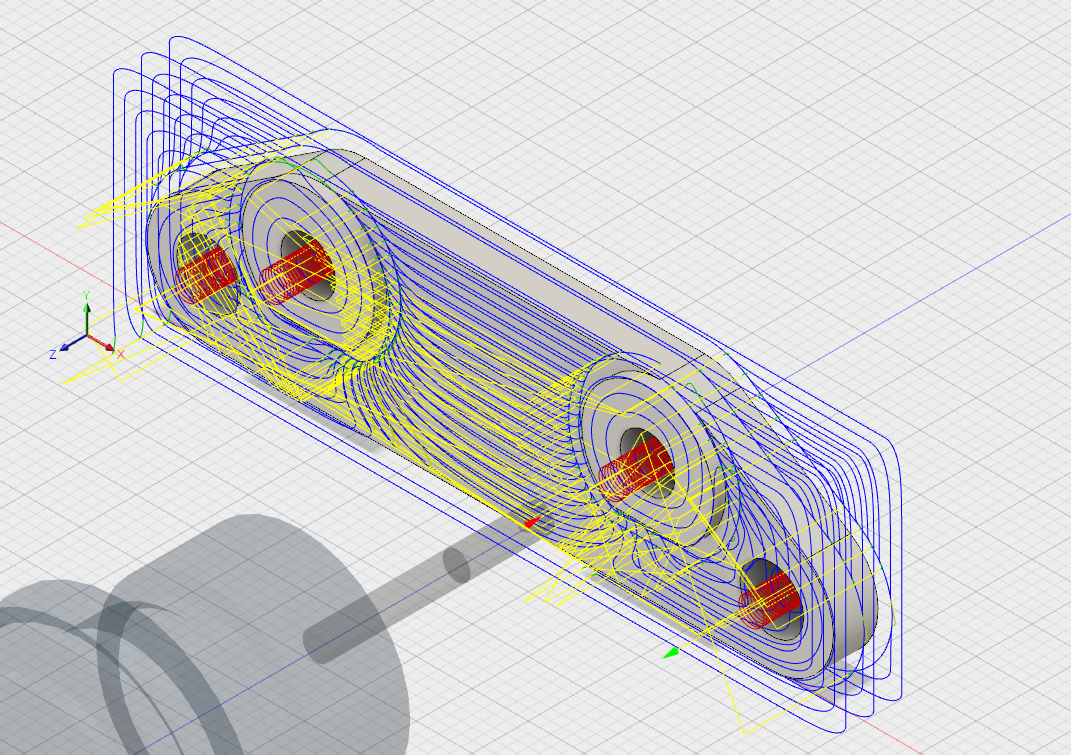
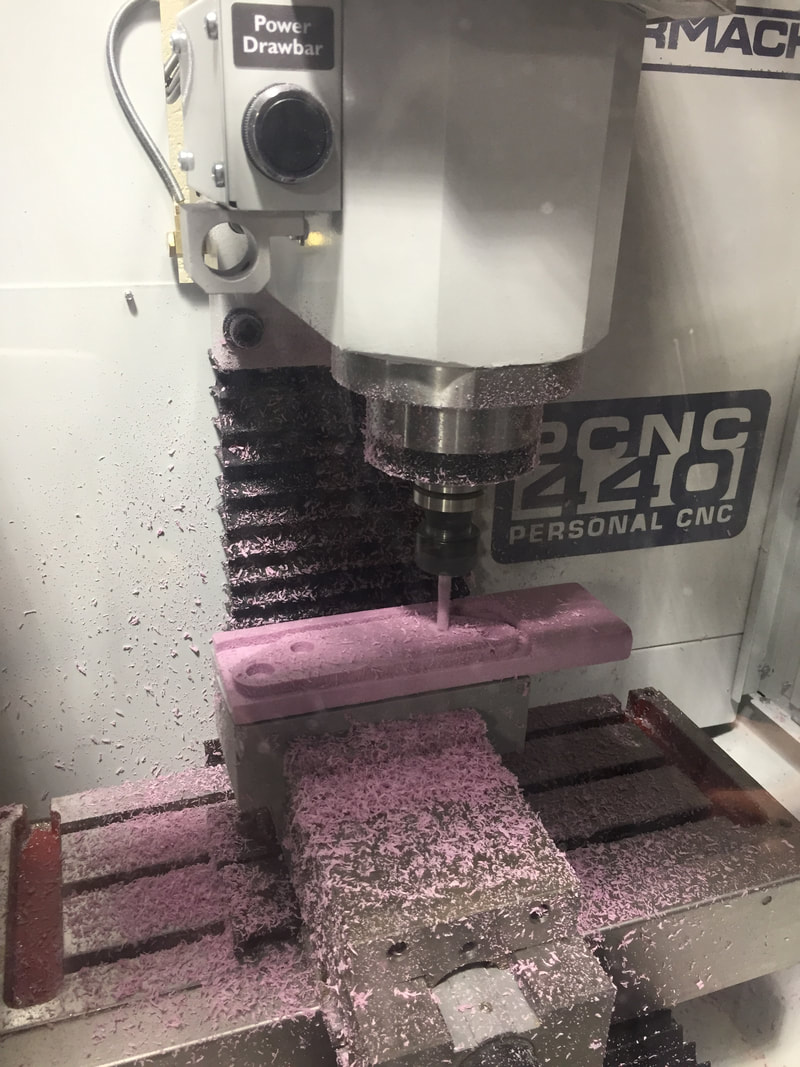
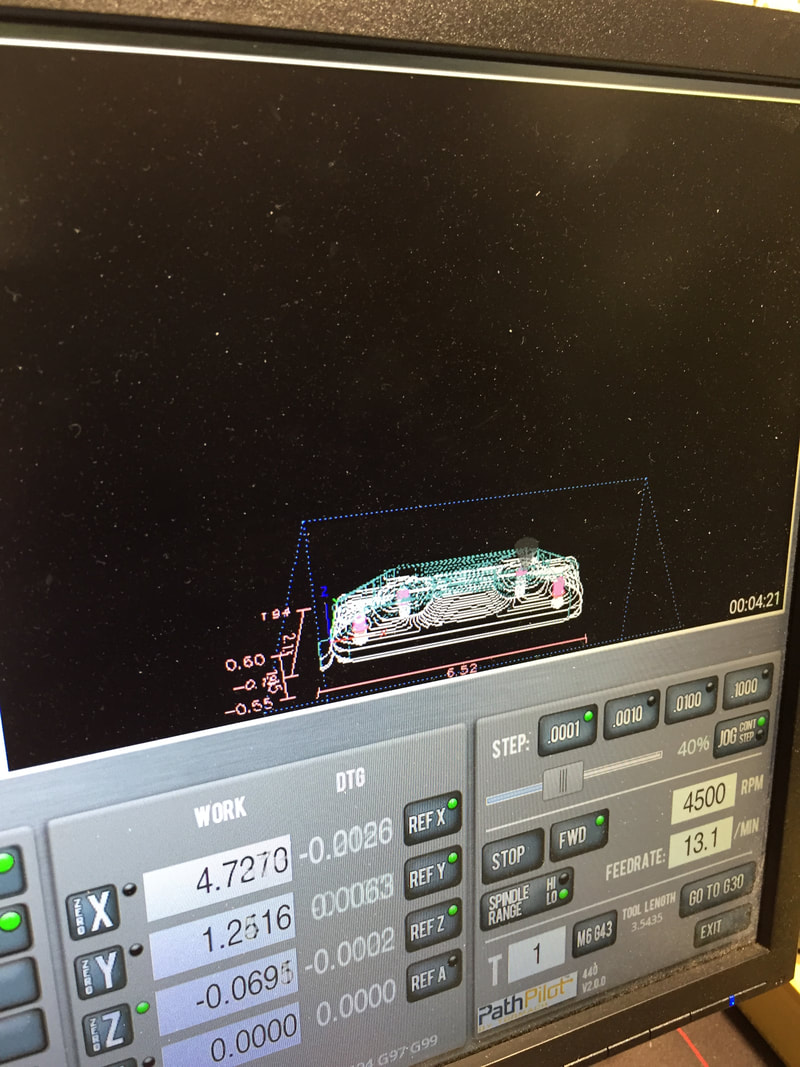
2. After inventor, I then imported my bracket into Fusion 360. Here I formulated the tool paths needed for the drill bit to correctly cut out my brake bracket. I also made sure to change the tolerance to .0001 in order for the top circles to get cut out. 3. After Fusion 360, I then downloaded my G-Code and ran it on the mill, resulting in a perfectly dimensioned brake bracket. 4. Then I used the laser to engrave my name and hour into the bracket. |
|
Cutting/Engraving
|
|