Maze
Intel for Project
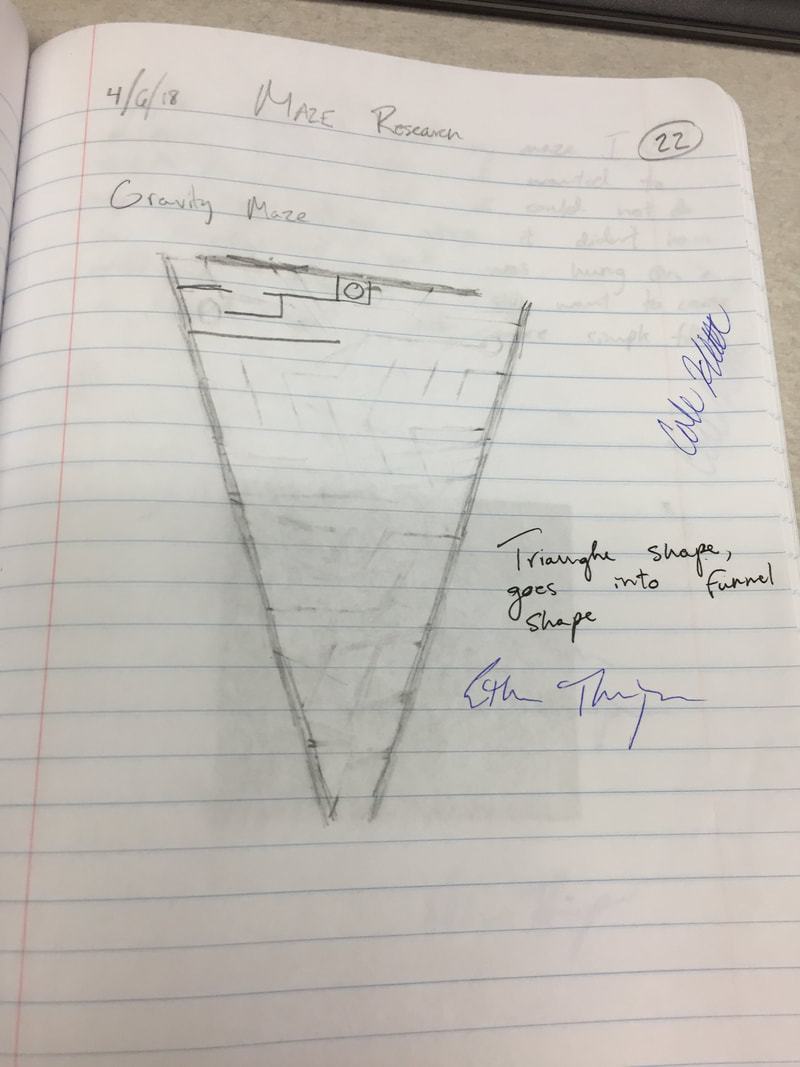
During this project, I wanted to create a maze that incorporated different shapes, while contributing to help solve the maze. I chose a triangle, because it had a one route way to solve it, but it also added to the complexity of designing this maze.
Step by step
|
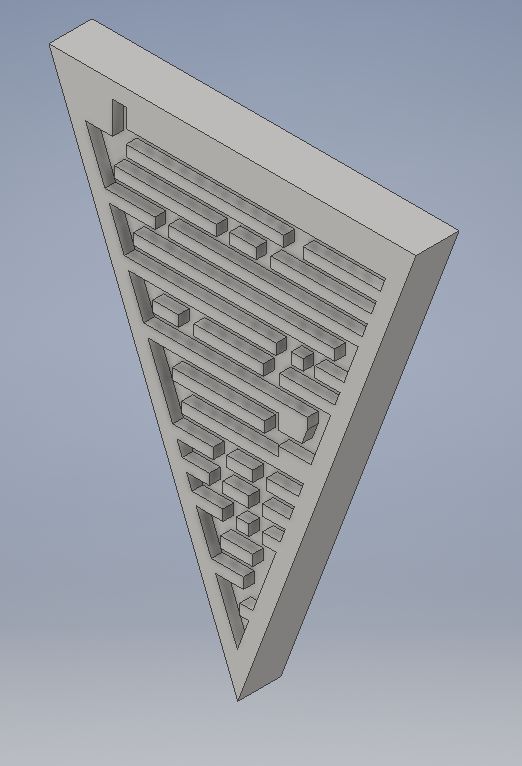
1. First, in Adobe inventor, I made a 2D sketch of the triangle, with all the passes/contours I wanted my maze to have. After designing my maze, I then extruded the outside and walls of the maze.
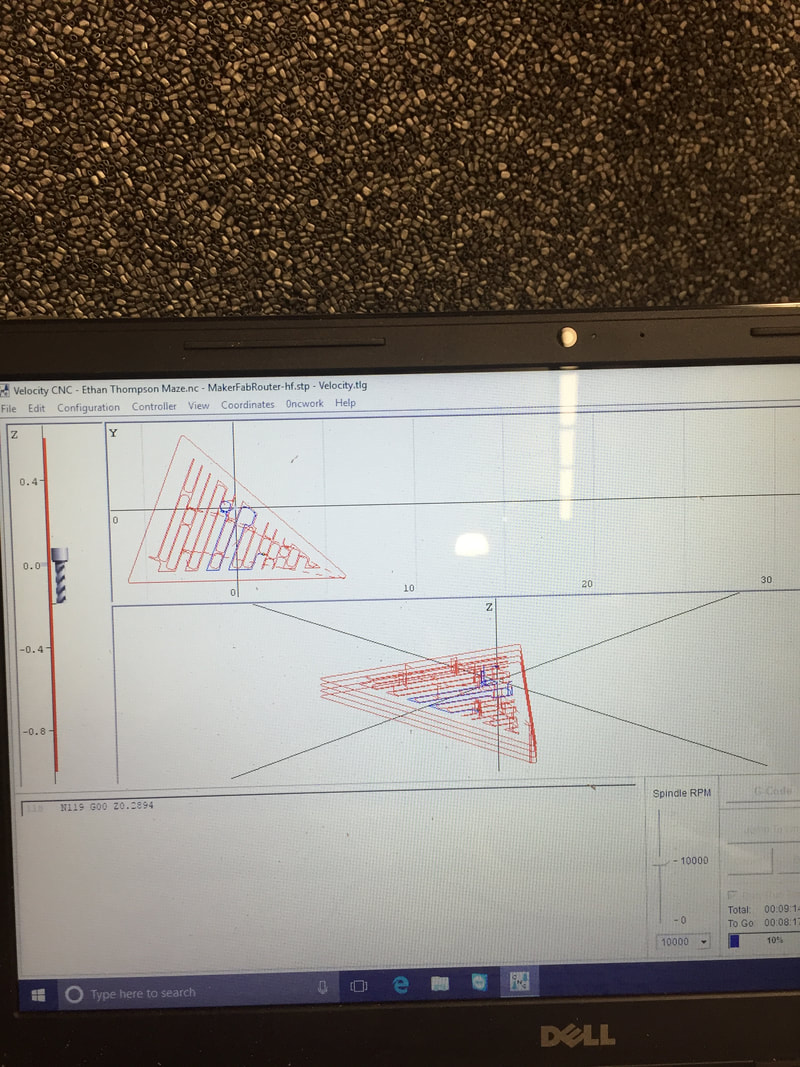
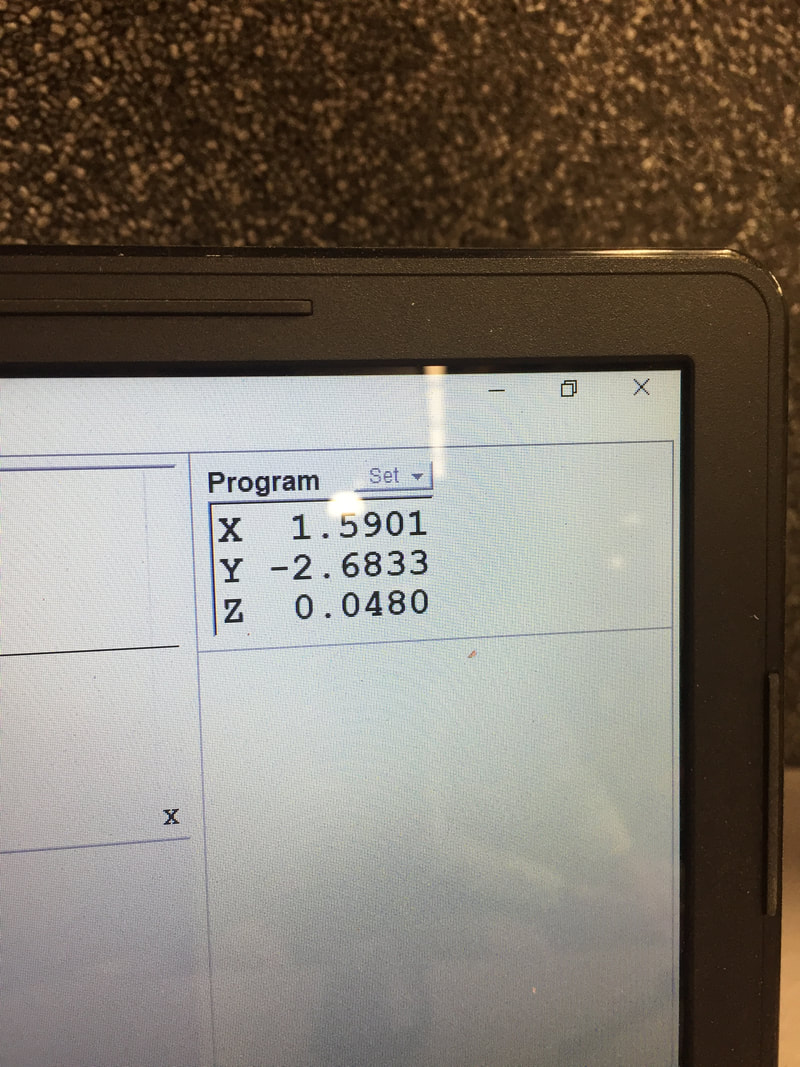
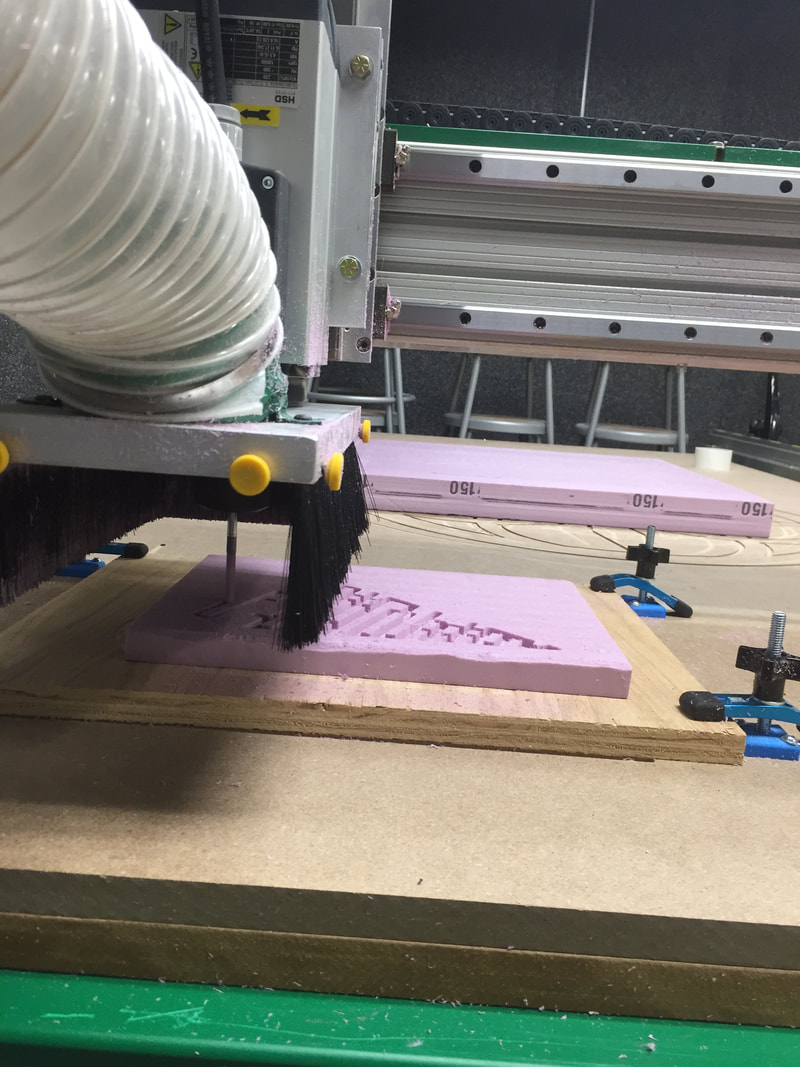
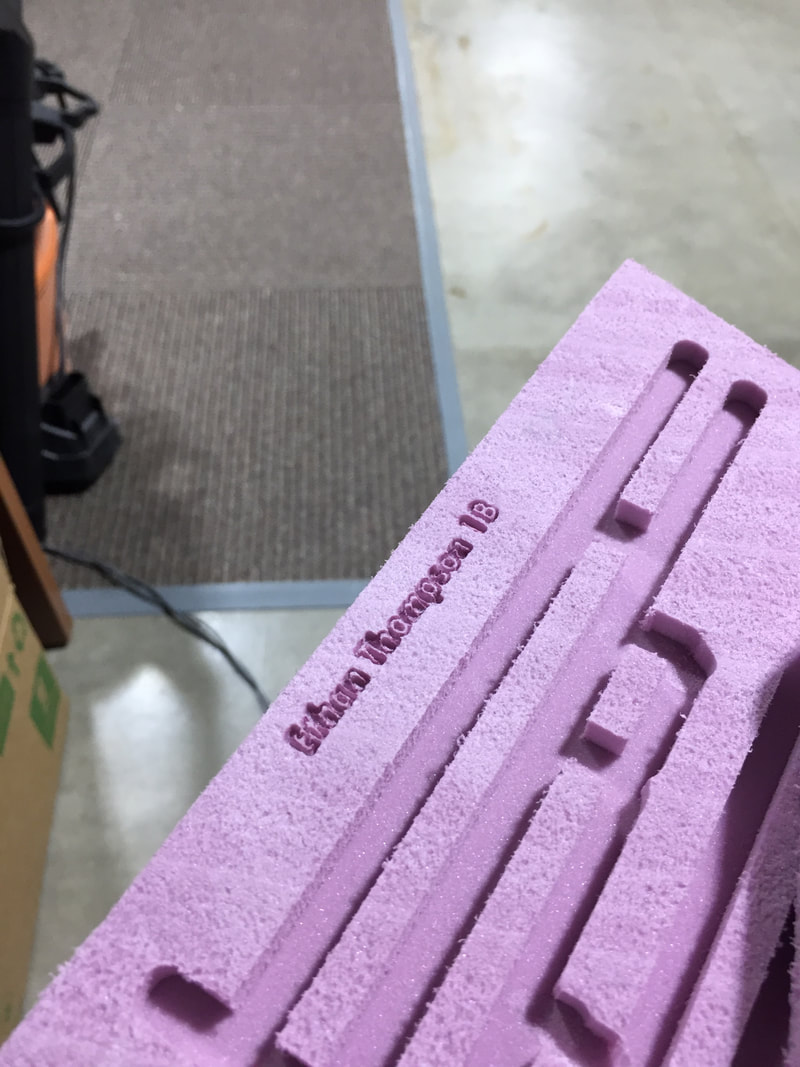
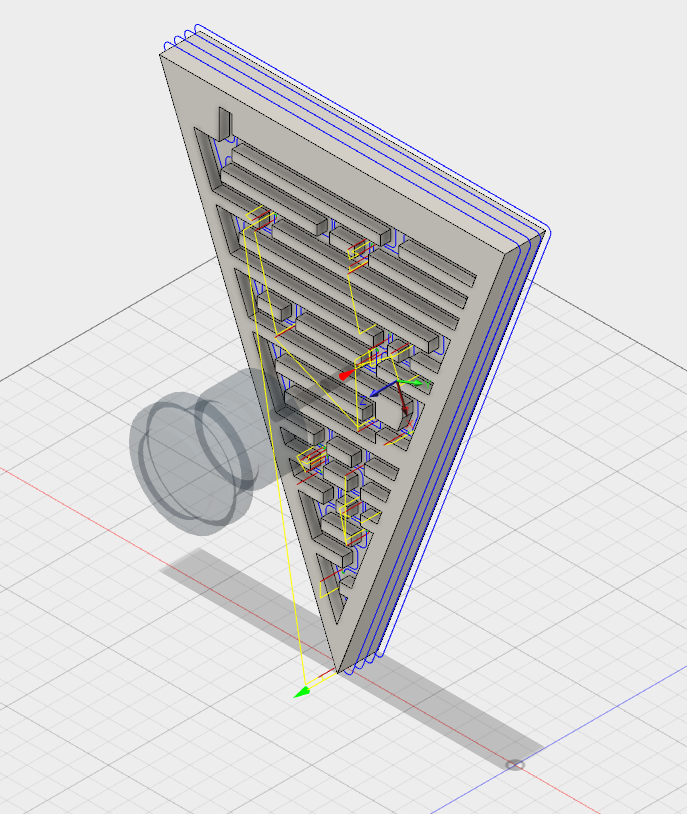
2. After inventor, I then ran my maze through Fusion 360. Where I was able to create the tool paths for my drill bit as it cut out my maze. I did so by highlighting the pathways, and changing the drill bit dimensions to be more precise with my maze. 3. After Fusion 360, I was then able to export my G-Code and print/engrave my maze. I used the CNC Router for this, and my mazed turned out perfect on my first try. 4. Lastly I used the laser to engrave my name and hour into my maze. |
|